Windows
For your Windows PC
Download link coming soonMake your BNK8 your own with Binepad Studio. Download the app, connect, and start configuring.
Choose the version for your computer.
For your Windows PC
Download link coming soonFor Macs with an Apple M-series chip
Download link coming soonFor Macs with an Intel processor
Download link coming soonAvailable by Monday, 16 November. We’re finishing a few bug fixes.
On your Mac, open the Apple menu → About This Mac. If you see “Chip” followed by an Apple chip name, choose Apple silicon. If you see “Processor” followed by Intel, choose Intel.
Install Binepad Studio, then connect your BNK8 to your computer using a USB-C data cable.
A charge-only cable won’t let Studio detect your device.
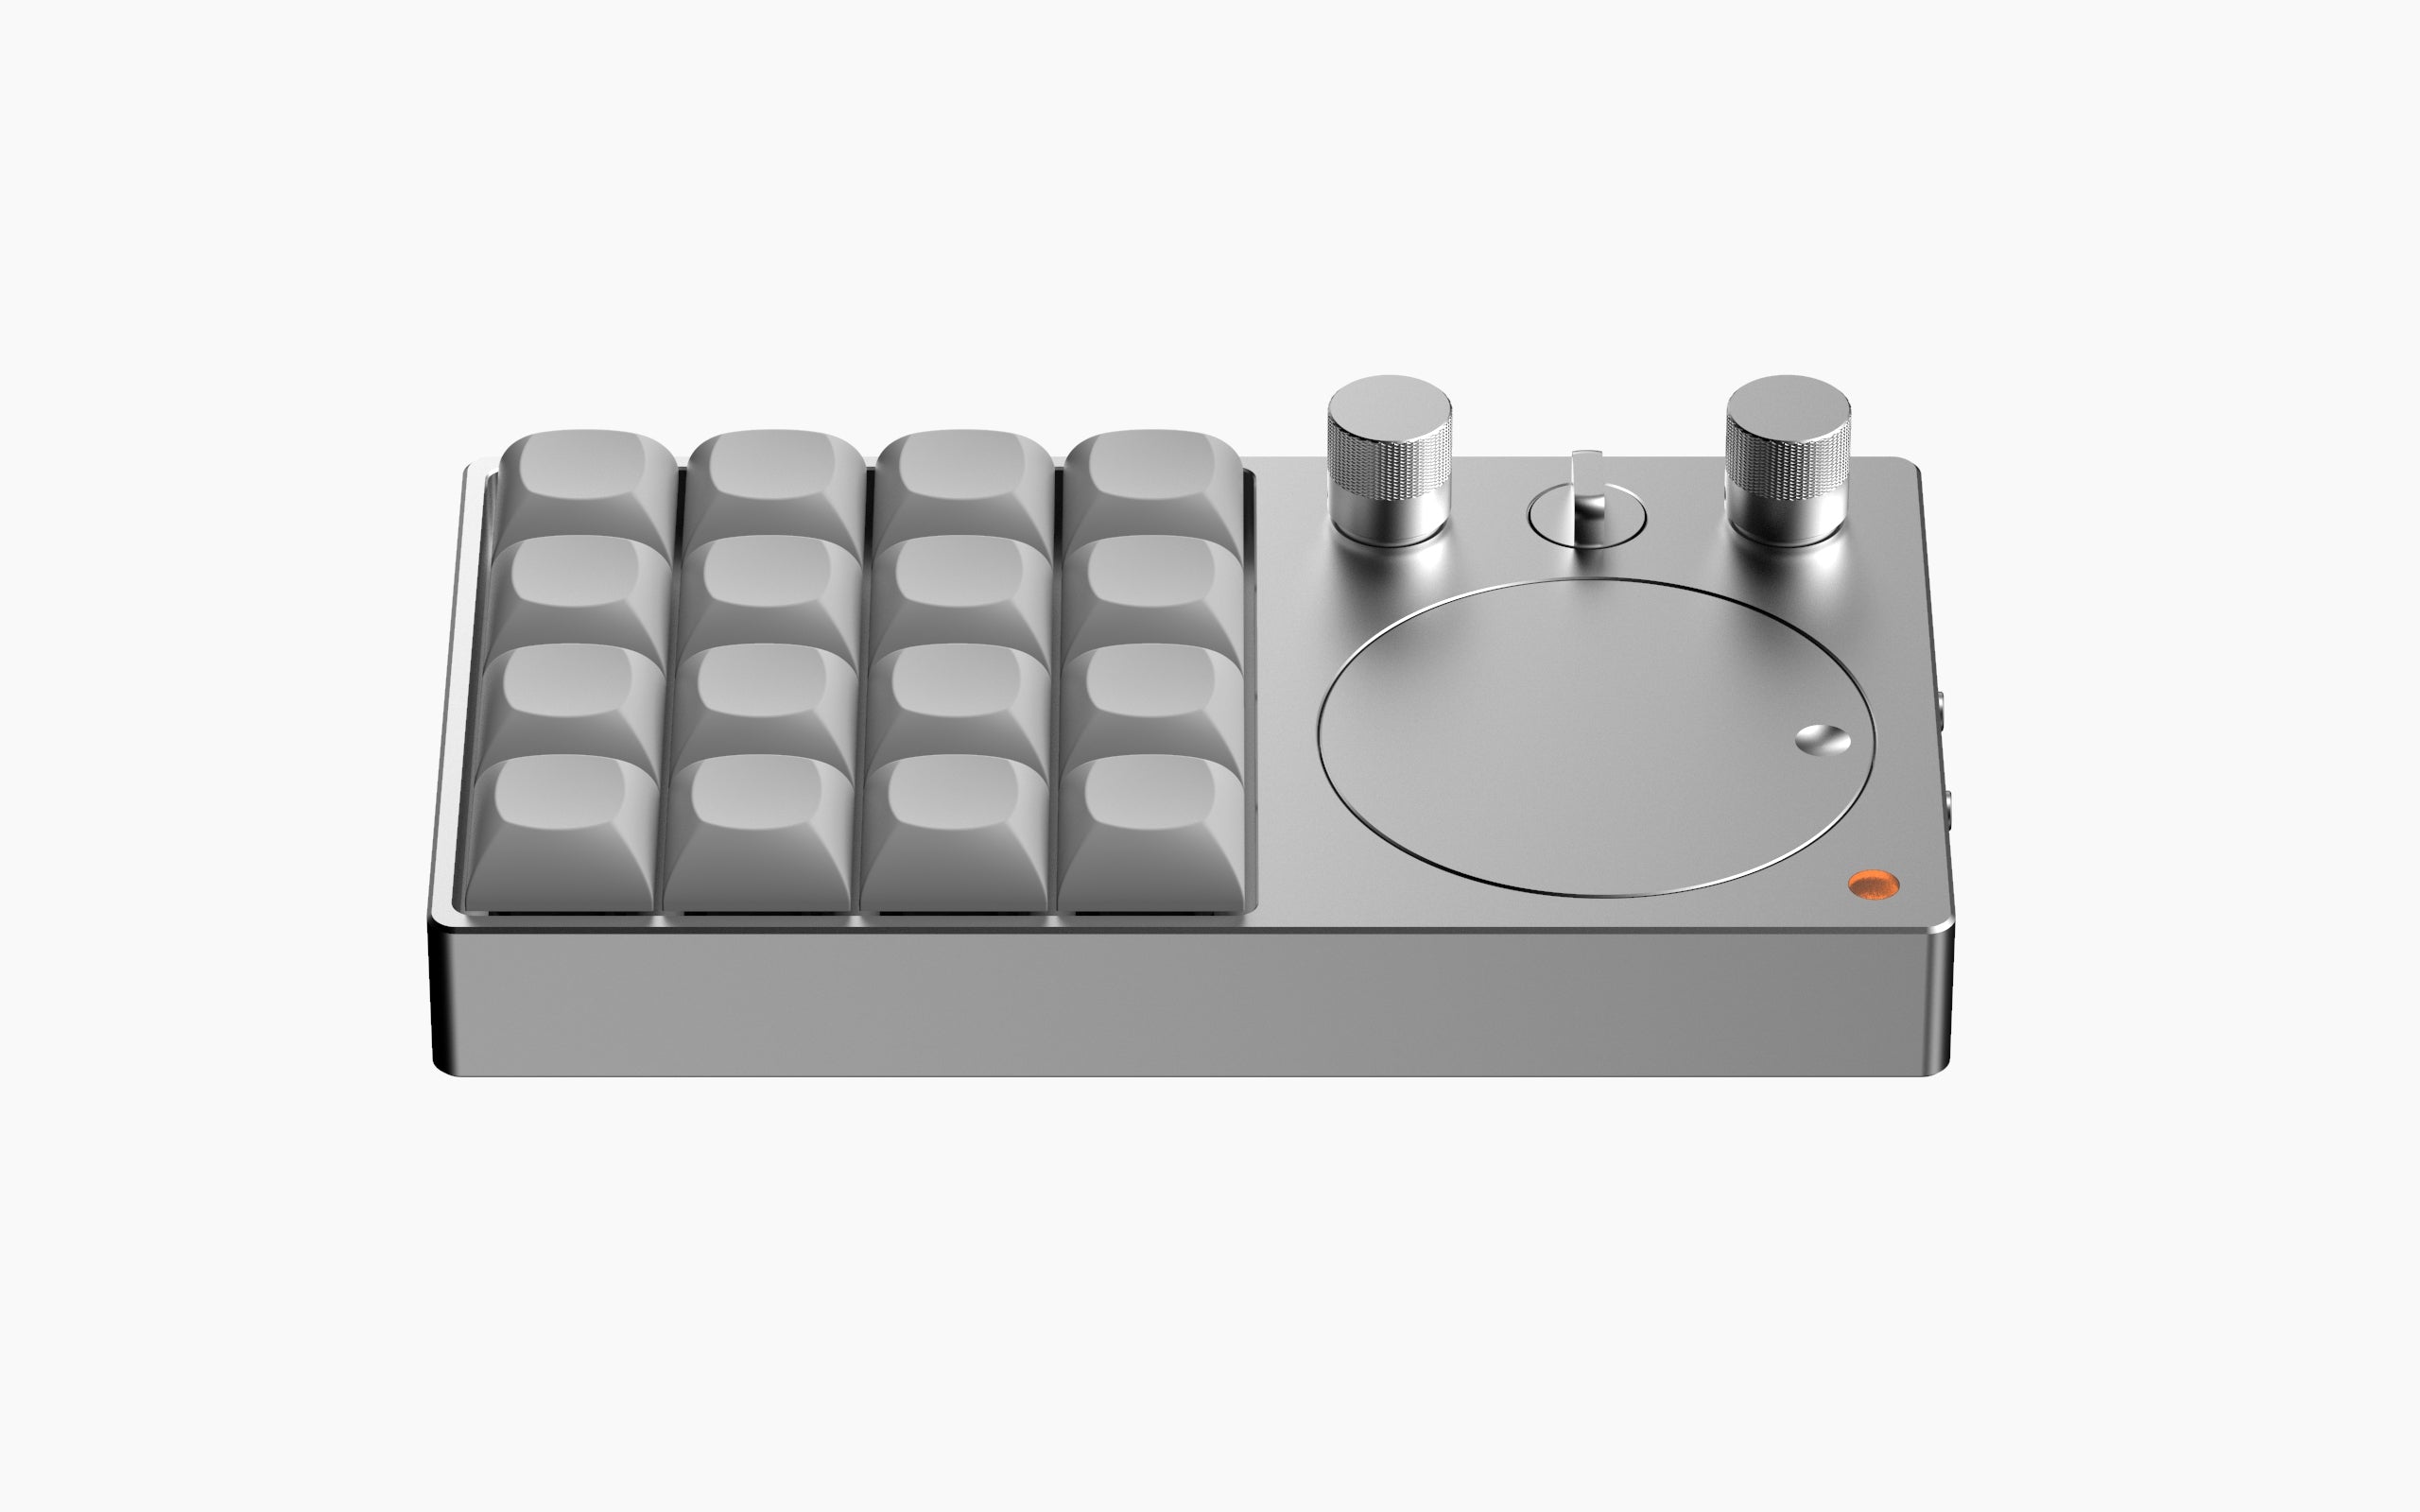
Open Binepad Studio and follow the in-app guide to configure your BNK8 AI Edition.
Keep your BNK8 connected while you configure it.
A little help
A few answers before you get going.
Check that your USB-C cable supports data, then try another USB port and reopen Binepad Studio. If you’re using a USB hub, try connecting directly to your computer. Still need help? Use the support email below.
This guide is for BNK8 AI Edition. Download Binepad Studio for your computer and open the app to configure your device.
On your Mac, open the Apple menu → About This Mac. If you see “Chip” followed by an Apple chip name, choose Apple silicon. If you see “Processor” followed by Intel, choose Intel.

Main Office: Ekapad International
Haryana, India
Branch Office: Binepad Limited
Hong Kong
Email: support@binepad.com


Free Shipping for all orders of $150.00 USD
Be the first one to get the new product at early bird prices.